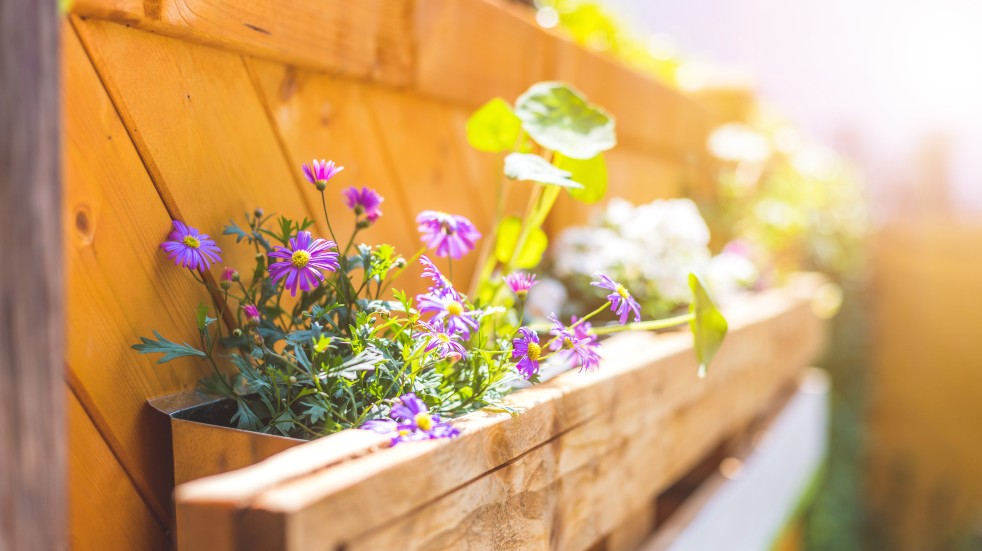
Celebrate spring with an outdoor DIY project that will occupy your green fingers and create a year-round garden suitable even for the smallest of outside spaces
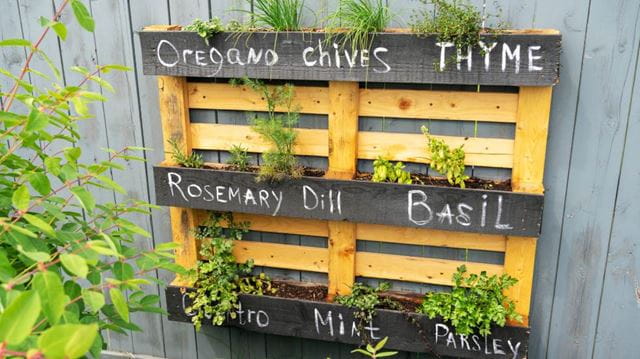
Ideal for making the most of smaller outdoor spaces, vertical gardens are a fun and effective way to enjoy gardening regardless of the size of your garden (or balcony).
If you’re pressed for outdoor square footage, or if you simply have an awkwardly sized outside area that you’d like to fill, a vertical garden is a stylish, simple and cost-effective way to get planting this spring. Perfect for balconies, compact yards or simply anywhere you have room outside, this space-saving project is attractive, practical and (most importantly) achievable even for the most amateur of DIYers.
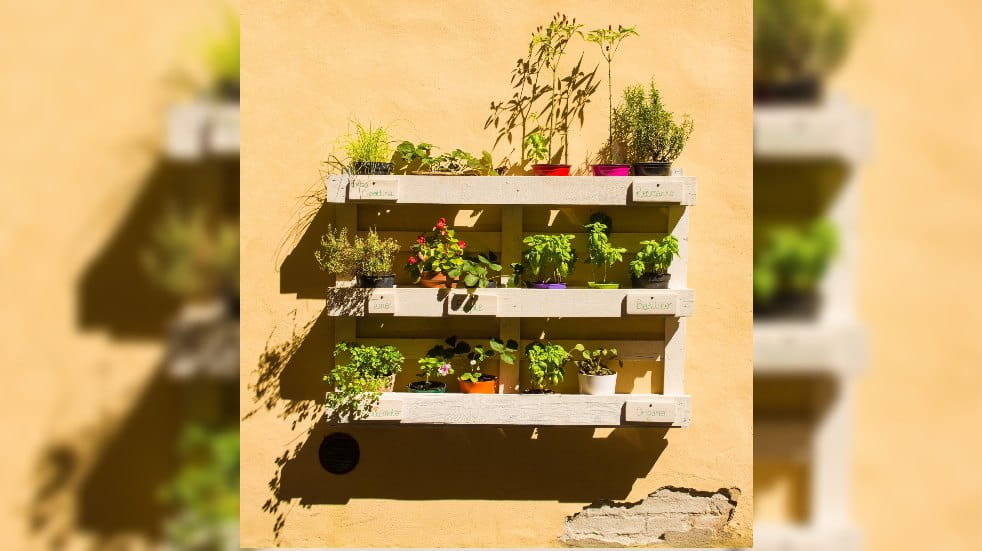
Built using recycled shipping pallets that can be easily sourced for free from giveaway sites like freecycle and gumtree, it doesn’t take an expert to make a vertical planter look impressive. And our simplified five-step guide will take you through the whole process; from sourcing materials and assembly to locating and planting. You’ll be enjoying your very own vertical garden before you know it.
1 Gathering your materials

Constructed using found items, with common household tools, you’ll need to acquire the following before you take on this project:
- A hammer or staple gun
- Weather-resistant nails, screws or staples
- A durable waterproof lining material
- Mounting brackets (if you plan to mount your garden)
- Potting soil
- Plants of your choice to fill it with
- Scrap wood planks
You’ll also need a sturdy wooden pallet, and this should be your first port of call when gathering materials as it will form the backbone of this DIY project. Easy to source for free, pallets come in all shapes and sizes, so there are a couple of caveats to consider when sourcing the perfect frame. Some pallets contain internal slats that provide a kind of support shelf for each level of your plants, if not, you will need to secure a piece of wood for each ‘shelf’ in your garden using screws or nails.
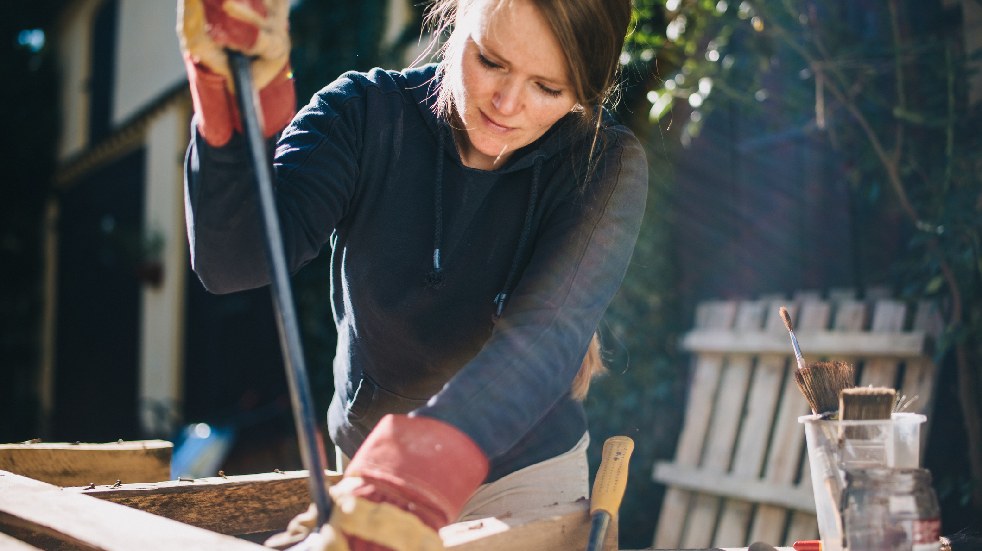
2 Preparing the materials
Before starting on your project, it’s important to ensure all your tools and materials are in suitable condition. Make sure your pallet is sturdy, has no lose nails or splintered wood by giving it a thorough check over (wearing heavy-duty gloves) before you decide to bring it home. It’s also important to find out whether the pallet has been constructed from pressure-treated wood, since the chemicals used in this process can leach into your planter, potentially harming you and your plants.
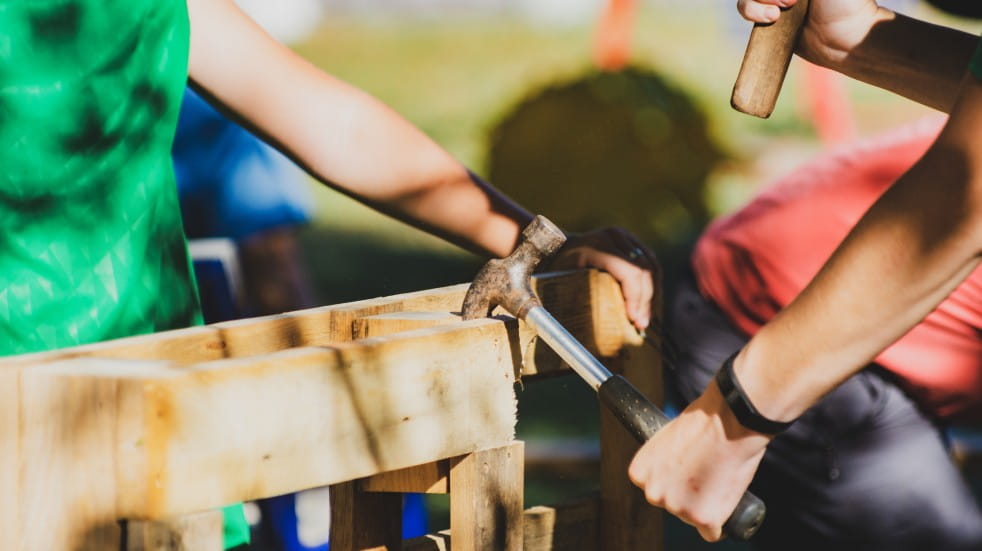
3 Assembly
Next, you’ll want to find a large flat surface (preferably outside) on which you can safely work without causing any damage (if you haven’t got a suitable worktable, just find any outdoor area where there is room to lay it flat on the floor). Identify the side of the pallet with the widest gaps between planks and make sure it’s facing up (this will become the back of your garden).
After that, place your waterproof lining fabric over the pallet, lining up the edges so that it can be trimmed to size. Pull the fabric taut and fasten it in place with your nails or staples, making sure to cover the bottom section of the pallet as you do – this will prevent soil from falling out of the bottom of the planter.
4 Plant it up
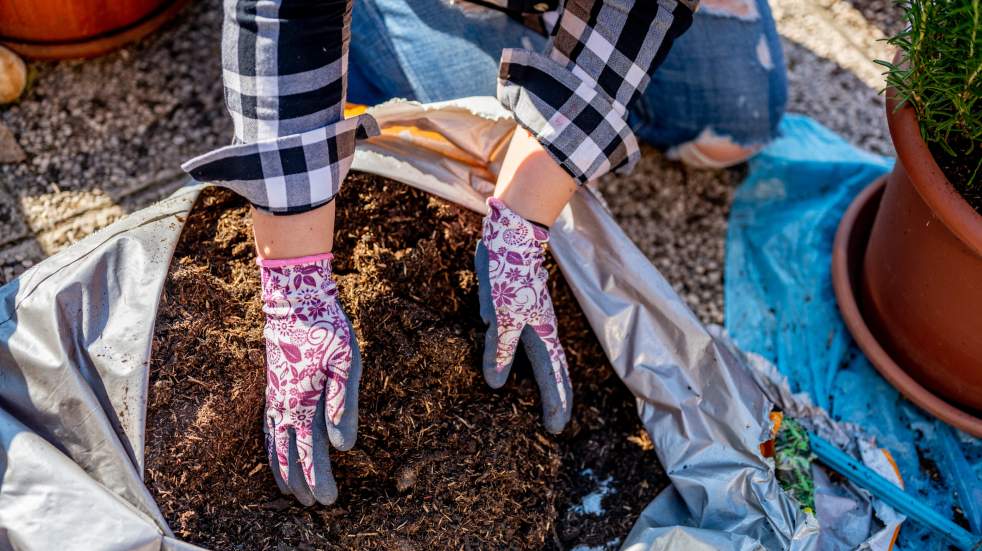
Once the frame has been assembled, turn it right-side-up on your flat surface and begin adding your soil. Make sure to use good quality potting soil (not bedding or garden soil) as it’s lighter and will drain more easily. Try to add most of your soil before moving on to plants. Once this is done, tilt the pallet almost upright and gently shake it so the soil can settle into place before placing the pallet back on the ground. Make sure not to water it yet to avoid adding extra weight to the structure before it’s in place.
Next, add your chosen plants. Making sure they’re in between the slats firmly and securely as well as being packed in closely side by side too. Once you’ve positioned them as you like, add in more soil to fill in any voids in your planter or any that might’ve been lost during planting.
5 Find the right spot
Finally, once all your plants are in place (still not watered), you’ll want to locate your planter in a spot of your choice. If you’re fixing it to a wall, now is the time to add your mounts and secure it in place. Alternatively, if you’d like your vertical garden to be freestanding, nail or screw two pieces wood of perpendicular to the bottom edge of your planter on both sides (use a spirit level to make sure your feet are at the correct angle).
Once in place, it’s time to get gardening! Water the planter thoroughly in the days following its installation, making sure to top up with potting soil any areas that look sparse. Within a few weeks your plants should be well established, and the roots should have filled out the planter. As this garden is above ground, it will dry out quickly so you will likely need to water it daily (or at least whenever the soil feels dry to the touch) depending on the plants you’ve chosen. Once that’s done, all that’s left is to enjoy the fruits (or herbs) of your labour!
Save money with Boundless
Boundless members can get amazing discounts on a range of products, from motoring services and insurance to holidays and outdoor gear – and all for just £ per year. To sign up, visit our membership page.